To send your direct mail campaign you'll need a mailing list (recipients). You can upload this as part of a campaign setup journey or from your dashboard, at any time.
Here is a step-by-step guide for uploading your recipient data:
Important points when uploading your data
Single sheet (CSV) data files
Only single sheet data files can be accepted.
CSV is the accepted file type as this only saves as a single sheet document. Stannp.com will convert alternate file types (such as xls or xlsx) to CSV. If your files contains multiple sheets, only sheet one will upload. This means any data or formulas, on others sheets, will not be saved.
Essential address data
Address line 1 (house name/ number and road name) and the postal/zip code must be mapped correctly in order to verify against the postal provider database (Royal Mail, USPS etc.). Addresses that do not match will save as unverified. These may still deliver and may incur an additional cost.
Read more about Address Verification here.
Retain cell content starting with '0'
To ensure cell content, such as telephone numbers or reference numbers, starting with '0' (zero) are accurately retained in your data file, you should untick the 'Remove leading zeros and convert to a number' (image 1 below) option in your Excel settings or convert your cell style from 'General' to 'Text' in the 'Home' tab (image 2 below)
Image 1: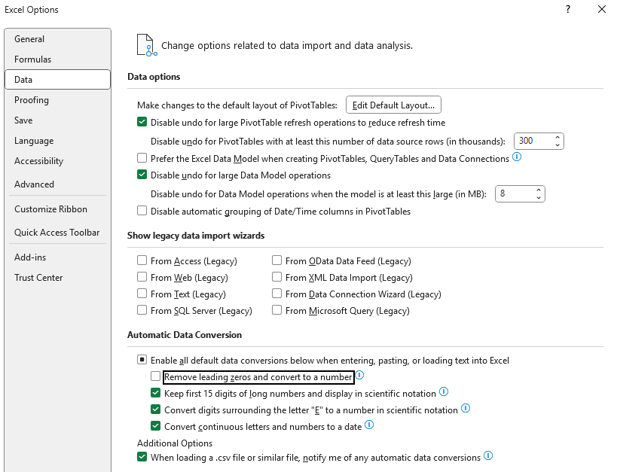
Image 2:
View and manage all of your recipient groups in one place
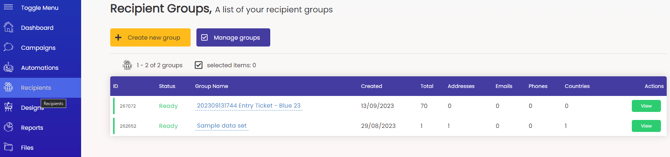
Click 'View' on your recipient group to view, edit, add to, and manage your recipient data within that group.
Need data?
If you don't have any data yet, you can always use one of our data feed tools. These may be region and subscription plan specific.
See 'Recipient Groups' in your dashboard or the subscription plan information here
Postcode Radius Search feature
Add one or multiple postcodes, select your radius, and filter by residential and/ or business addresses. Select to include or exclude individual streets and limit and find data from the surrounding area.
Read more here
ProspectFeed feature
Find newly registered businesses by industry and location, build tailored recipient groups, and get your brand in front of prospects, first.
Read more here
Adding data with custom fields
If your data file contains any custom column headings, these will automatically be uploaded with your data file. You can choose to map these or skip them (click the ❌).
Previously added matching custom fields will map. Example below: 'birthday' was previously added and has mapped.
New custom fields (column headings) will be created as 'New Custom Field' and will match next time. Select the preferred data type from second drop down list.
The options are dates with two format options and single or multi line text. Multiple examples below.

When using custom variable fields we always recommend making the variable first in the column settings rather than generating it here.
Read more about creating custom variables here
The final step is to check through your data settings. Name the recipient group so it's easy to find later and decide what should be done with any duplicated entries that could feature in your other recipient groups. If you want to make sure all of your recipients are uploaded, we recommend selecting the "insert all duplicates as unique records" option.

Once uploaded, it will be displayed in your groups. It will give you a breakdown to the verified and not verified recipients along with any international records in your mailing list.
Select the data when creating a bulk campaign and you're off!