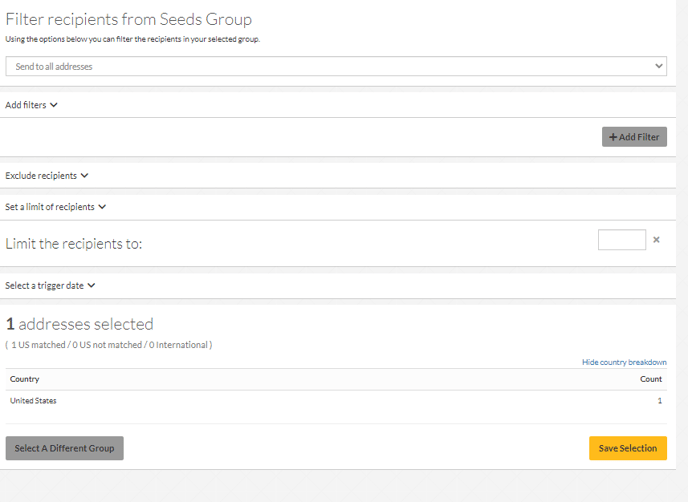
 After selecting your campaign design and selecting your data group you have several options to limit, filter and exclude data from a send. This way if you have a large mailing list you can specify exactly who you want to send to. See below for all of our settings and allow me the time to break each one down.
Verified filter
 We compare the data you upload to the USPS database. It will either be identified as Verified (valid, Matched), Unverified (non-verified, Not verified, Not matched unmatched).
Using this setting you can guarantee you only send mail to your verified addressees to minimize returns.
Data filter
 Next you can add a filter based on the actual data of your mailing list. For example, if you want to send to all of your California Addresses, you can set, State | Matches | CA.
This would narrow down your mailing list to only the recipients with CA in their state column.
You can also change matches to several different settings and add multiple filters to be more specific!
Excluding recipients
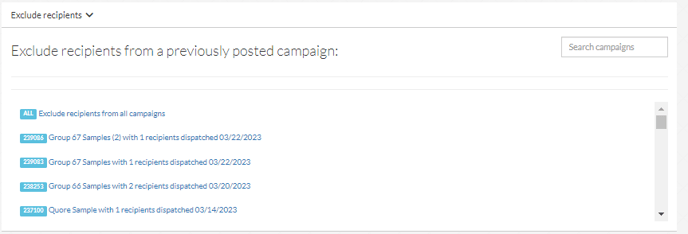 If you've sent a few campaigns already using this mailing list you can set an exclude rule. Select a campaign and if any recipients appeared in that previous campaign it will remove them from your current selection.
Setting a recipient limit
 This option is here for when you wish to only send to a certain number of recipients. Include a number and that will be the max number of recipients selected for your mailing. These are selected at random.